Wifi success, for a change!
I’m actually having success in connecting the super-cheap WI07C wifi module to my home network, so that an arduino can send data anywhere.
[caption id=“attachment_373” align=“alignnone” width=“300”]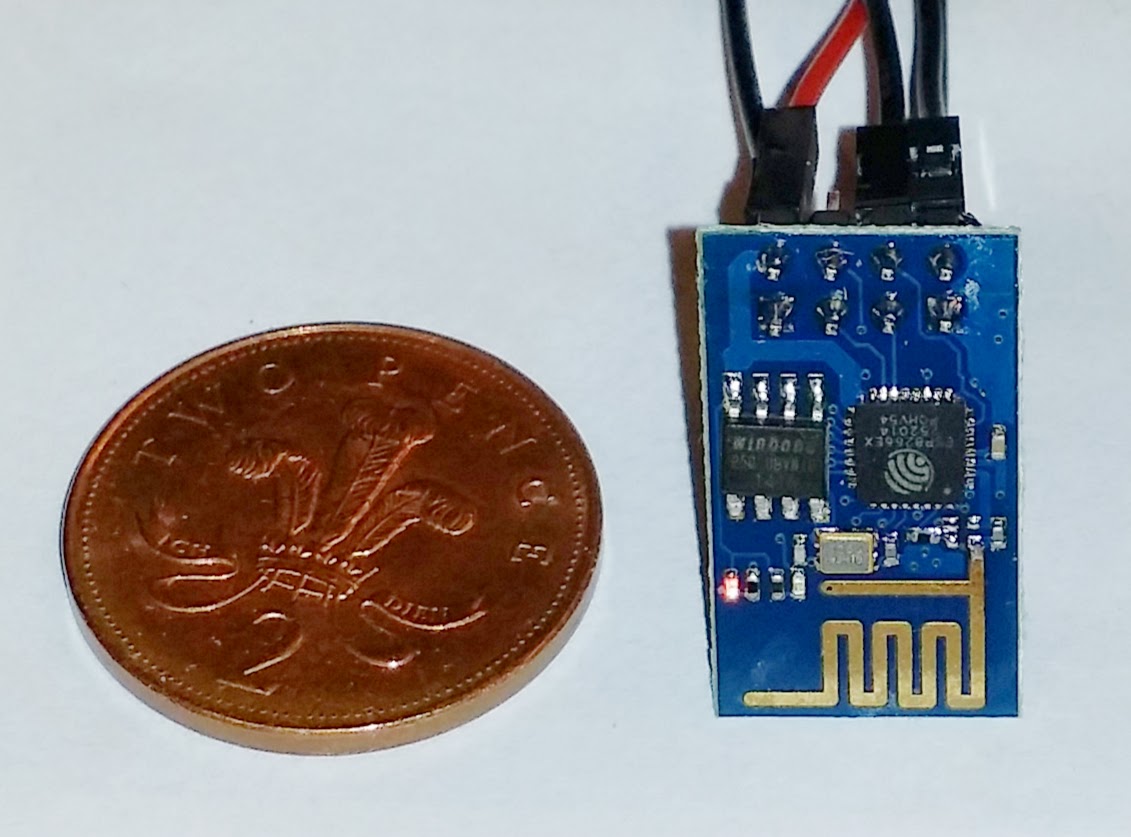 WI07C module featuring esp8266 chipset[/caption]
I can now reliably establish a TCP connection and send data back and forth. It works rather well, with some limitations. It helps that I came across some slightly better documentation, sourced from this esp8266.com forum post which lists a few more AT commands and some more illuminating explanations.
AT+CIPMODE
AT+CIPMODE=1 or 0 (1 is default) sets the data receiving mode of the socket. If it’s 0, received data is simply sent to the serial port. If it’s 1, data gets “+IPD,c,n,” prepended to it, where c is the channel number and n is the number of bytes received. c is omitted if you are in single-channel mode. If you have multiple connections going in, this mode is logical. If you have only one, it may be simpler to use the transparent mode (AT+CIPMODE=0). But see AT+CIPSEND below, because this is affected by AT+CIPMODE!
AT+CIPSEND
The usual documentation about this is a bit pants. Here’s how it works. When you issue an AT+CIPSEND command, you normally tell it the channel you want to send it over (the chip can keep four IP connections going at once) and the number of bytes you want to send (call it n). The module then responds with a “>” character. It will then take the next n bytes you give it and send them over the TCP link. Then it responds with “SEND OK” and returns to normal, waiting for your next command. There are three variants of the AT+CIPSEND command, however:
AT+CIPSEND=channel,length is used if you have multiple connections open (AT+CIPMUX=1) AT+CIPSEND=length is used for a single channel (if you have previously issued AT+CIPMUX=0 to tell it that you will only use one connection at a time) AT+CIPSEND can be used without any parameters if you are using a single channel and transparent data mode (AT+CIPMODE=0). Note that there is no channel or length specified in this variant. After you issue the command, it will simply send every byte you throw at it directly to the receiving socket. This includes AT+ commands. Note that I have as yet found no way of exiting this mode other than resetting the module.
Also note that if you are in transparent data mode (AT+CIPMODE=0) and you try to use the variant of AT+CIPSEND which uses a length value, it won’t just fail or ignore it, it will actually reboot the module.
Lesser known AT commands not in other documentation
AT+GMR
AT+GMR retrieves the firmware ID of the module. There are at least two versions in the wild.
AT+CIPSTO
AT+CIPSTO=60 Sets the socket timeout period to 60 seconds AT+CIPSTO? gets the current timeout value You might want to change this value because if the server closes the socket, and your timeout value is too high, there appears to be nothing you can do from the client end other than do a hardware reset. I’m thinking it’s probably going to be necessary to tie the CH_PD line of the module to an output from the arduino, as I’m bound to want to reset from software at some point.
It’s good to make some progress. I’m going to look at the using the module as a server next.